center & resize images to screen on AO3 [tutorial]

I notice a lot of people enjoy posting images on AO3, banners or art, but are forced to deal with the lack of customizable options in the default AO3 editor. Below I will show you how to make a workskin to display your banner images centered and to the size of whatever screen the reader is using.

To create your new image resizing Work Skin:

1) Go to your Skins page from the link in your Dashboard

2) Click the “Work Skins” button

3) Choose “Create Skin”

4) In the “Create New Archive Skin” form, change the popup menu beside “Type” to “Work Skin” (very important)

5) In the “Title” box, enter a title that is meaningful to you (for example, “Banner Resizing”)

Optional: If you like, in the “Description” box you can enter a description of what the skin does

6a) In the large box labeled “CSS”, enter:     

#workskin img.banner {
  display: block;
  margin-left: auto;
  margin-right: auto;
  padding-bottom: 10px;
  max-width: 100%;
}

Note: The above CSS will center your image and resize it to the screen your reader is using.

7) Click the “Submit” button at the bottom of the form.

To use your new Work Skin:

1) Select the fic your would like to apply your work skin too.

2) Select “Edit”

3) At the bottom, choose your new Work Skin from the drop-down menu next to “Select Work Skin”

4.) Once you image is placed in your fic, switch from the visual editor to the HTML editor

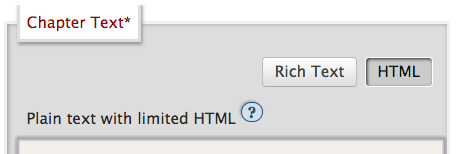
5.) Find your image, and add the following to the HTML after the img in the tag:

class="banner"

It should look something like this:

<img class="banner" src="long-img-url.com" alt="" />

4) Post your fic

Here is an example of how it looks on mobile vs desktop:
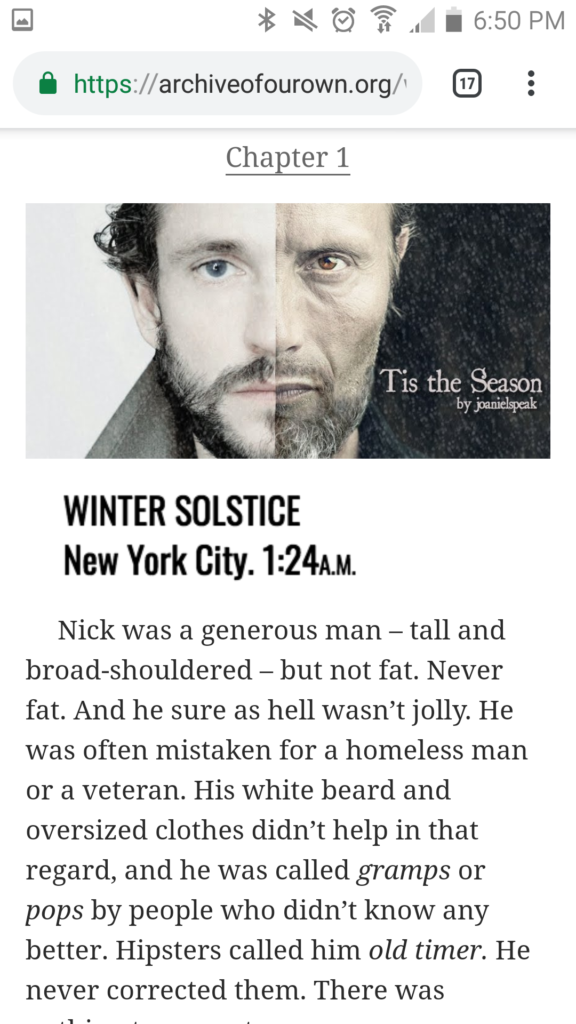
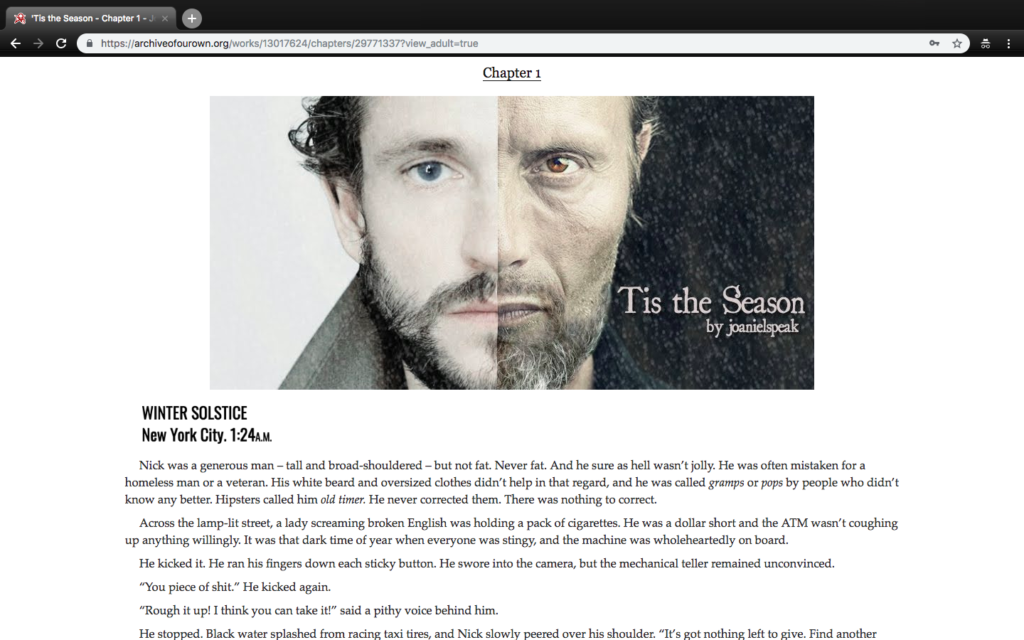


indenting text on AO3 [tutorial]

I get asked this a lot because all my fics on AO3 are indented. Here is the information needed to create a workskin to do this yourself.

To create your Indentation Work Skin:

1) Go to your Skins page from the link in your Dashboard

2) Click the “Work Skins” button

3) Choose “Create Skin”

4) In the “Create New Archive Skin” form, change the popup menu beside “Type” to “Work Skin” (very important)

5) In the “Title” box, enter a title that is meaningful to you (for example, “Indentation”)

Optional: If you like, in the “Description” box you can enter a description of what the skin does

6a) In the large box labeled “CSS”, enter:     

#workskin #chapters div.userstuff p { text-indent: 2em; margin: 0 auto; }

Note: The above CSS will indent your paragraphs and remove the white spacing between paragraphs (as though you are reading the page of a book). It will also not affect your summary or notes.

6b) If you’d like to indent your paragraphs but still leave a single blank line between them (easier to read on devices), instead enter:   

#workskin #chapters div.userstuff p { text-indent: 2em; }

7) Click the “Submit” button at the bottom of the form.

Note: If you find the indent too small or too large, increase or decrease the number accordingly and save, for example: 1em, 3em, or 4em if you’re crazy.

To use your new Work Skin:

1) Select the fic your would like to apply your work skin too.

2) Select “Edit”

3) At the bottom, choose your new Work Skin from the drop-down menu next to “Select Work Skin”

4) Post your fic